EasyGraph Quick Start - Create
EasyGraph Playground Tutorial
This is a follow up to the previous tutorial, available at https://www.graphifi.com/easygraph-quick-start-bootstrap
When you have logged in to EasyGraph you should see the following.
Click the Playground card and you should see the screen as shown below.
Click on the Plus button on the left and you should see an ‘Add New Workspace’ dialog as below.
Enter ‘Person API’ in the Name field, leave the description empty and click the ADD button. You should see a screen as below
Click the ‘ADD SCENARIO’ button and in the ‘Add New Scenario’ dialog box enter ‘Person CRUD’ in the Name field and leave the description empty. Your screen should look as below.
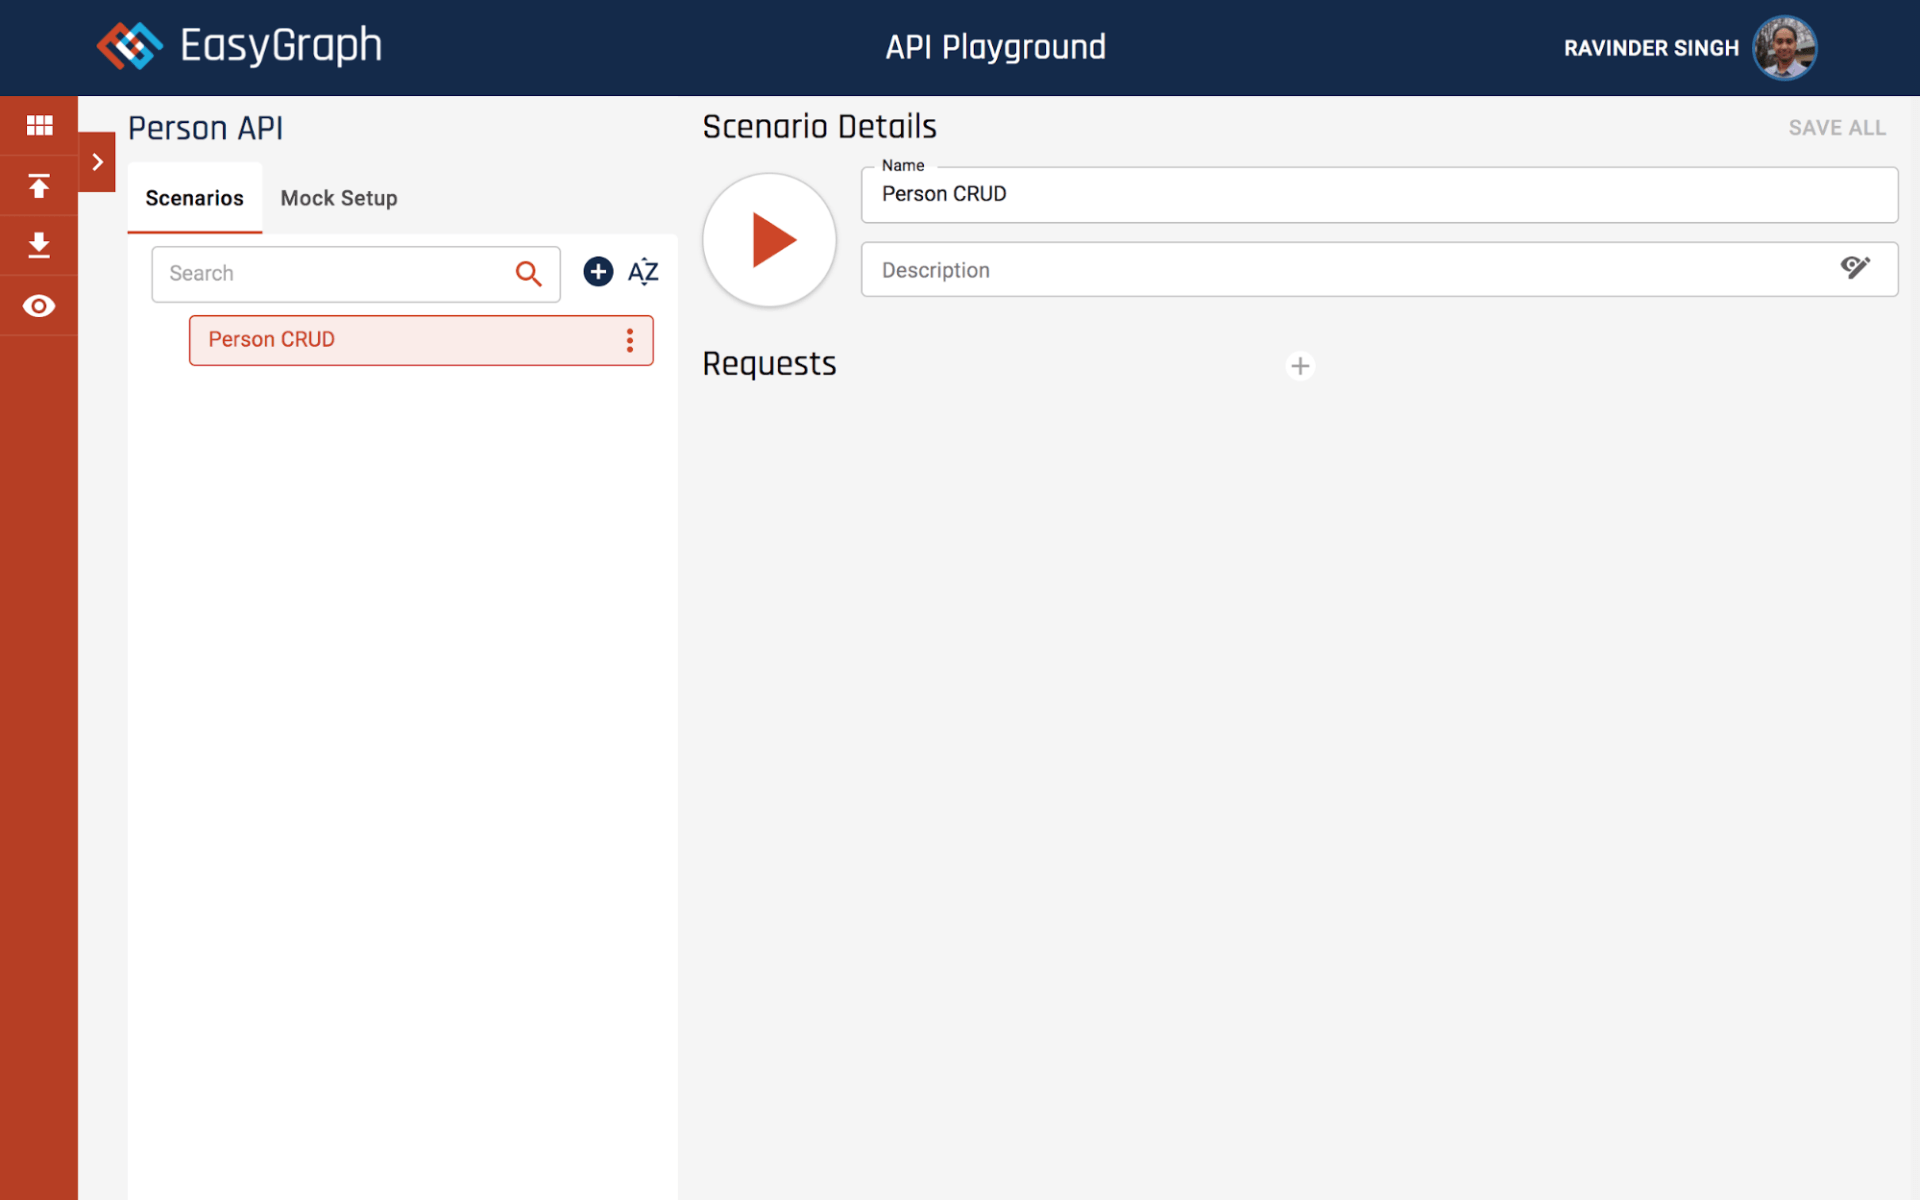
Click on the ADD button. This should create a new scenario as shown below
A scenario is a collection of requests to perform a particular task. We will now add the necessary requests to our scenario.
Add a new person with givenName
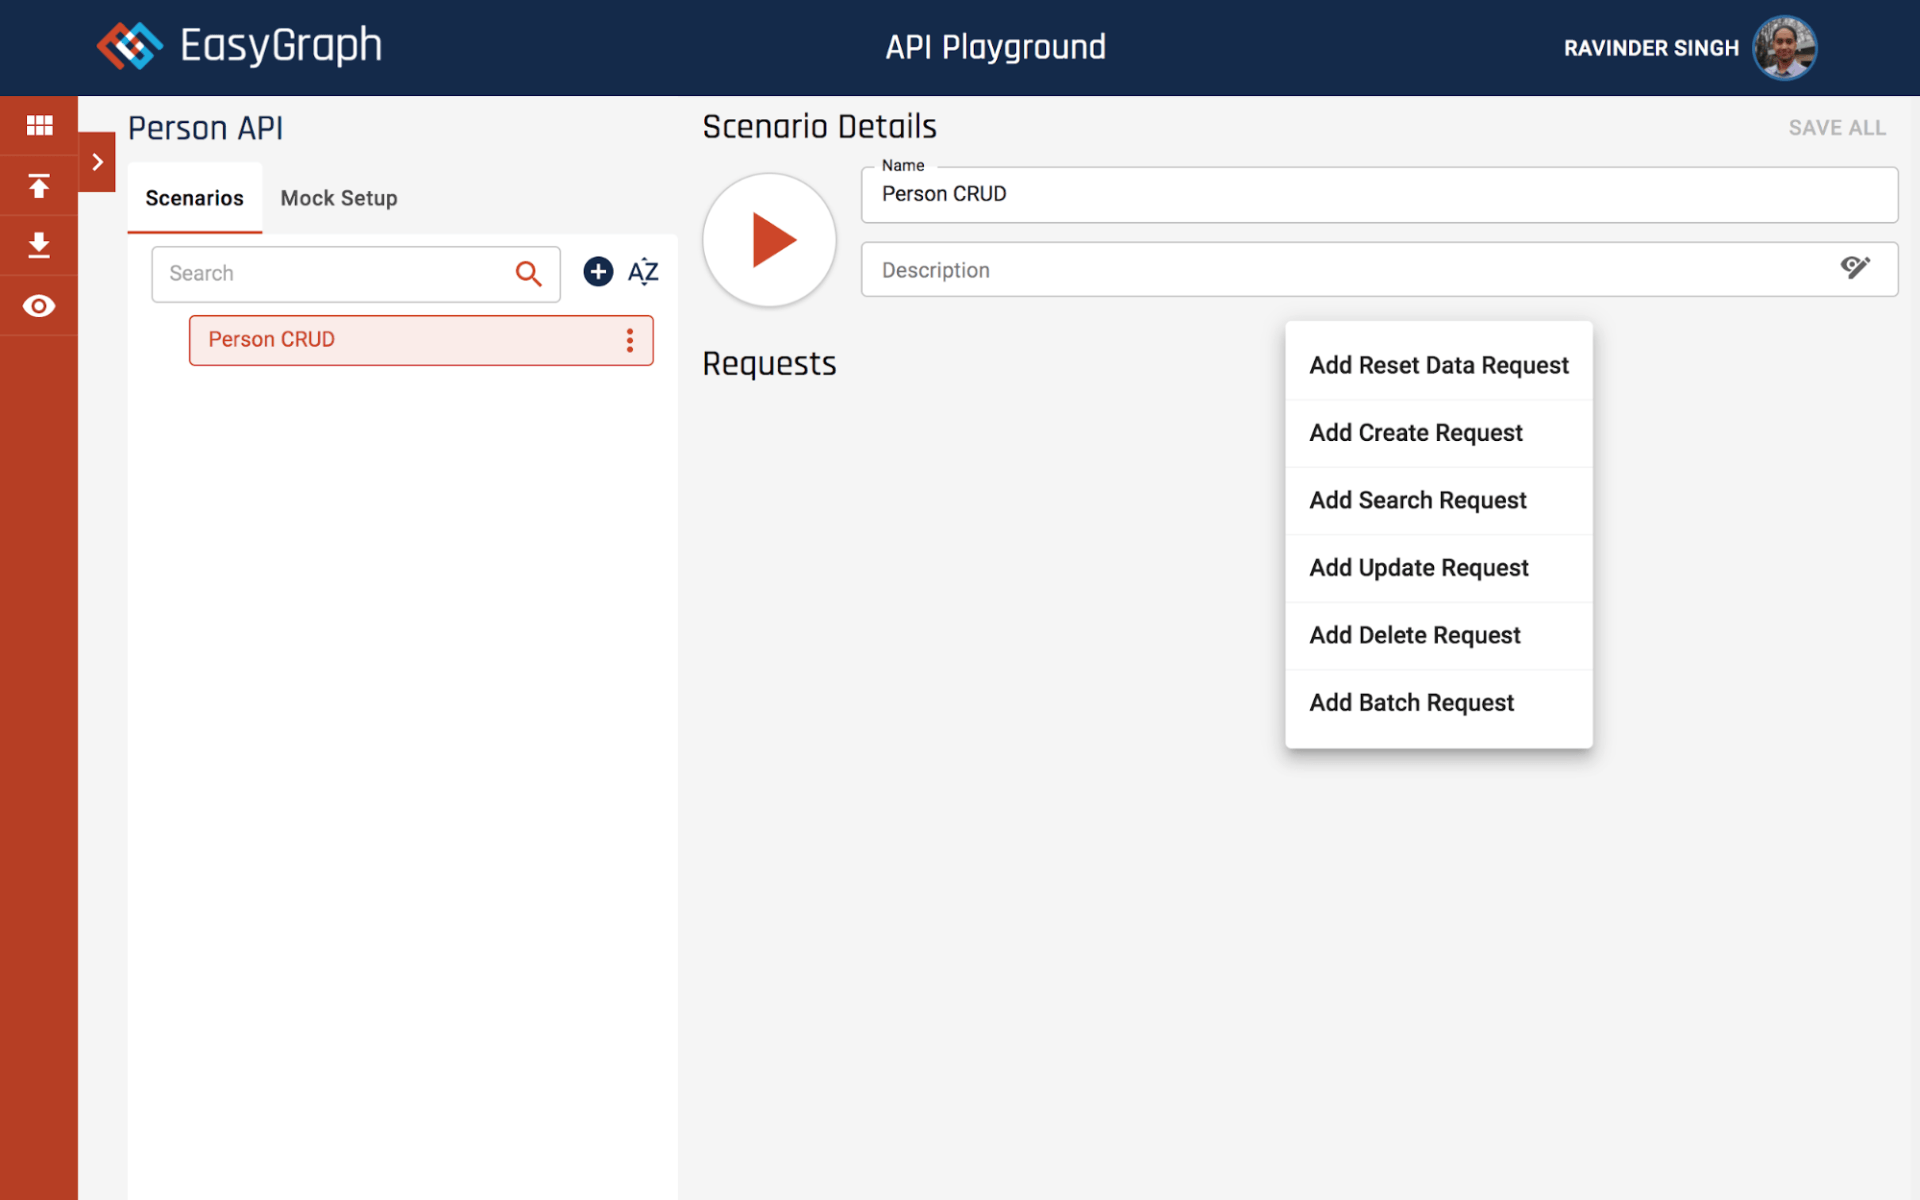
Next let us add a request to try our first feature, which is to “Add a new person with givenName”. To add a request click the plus button in center of the screen. You should see a popup menu as shown below.
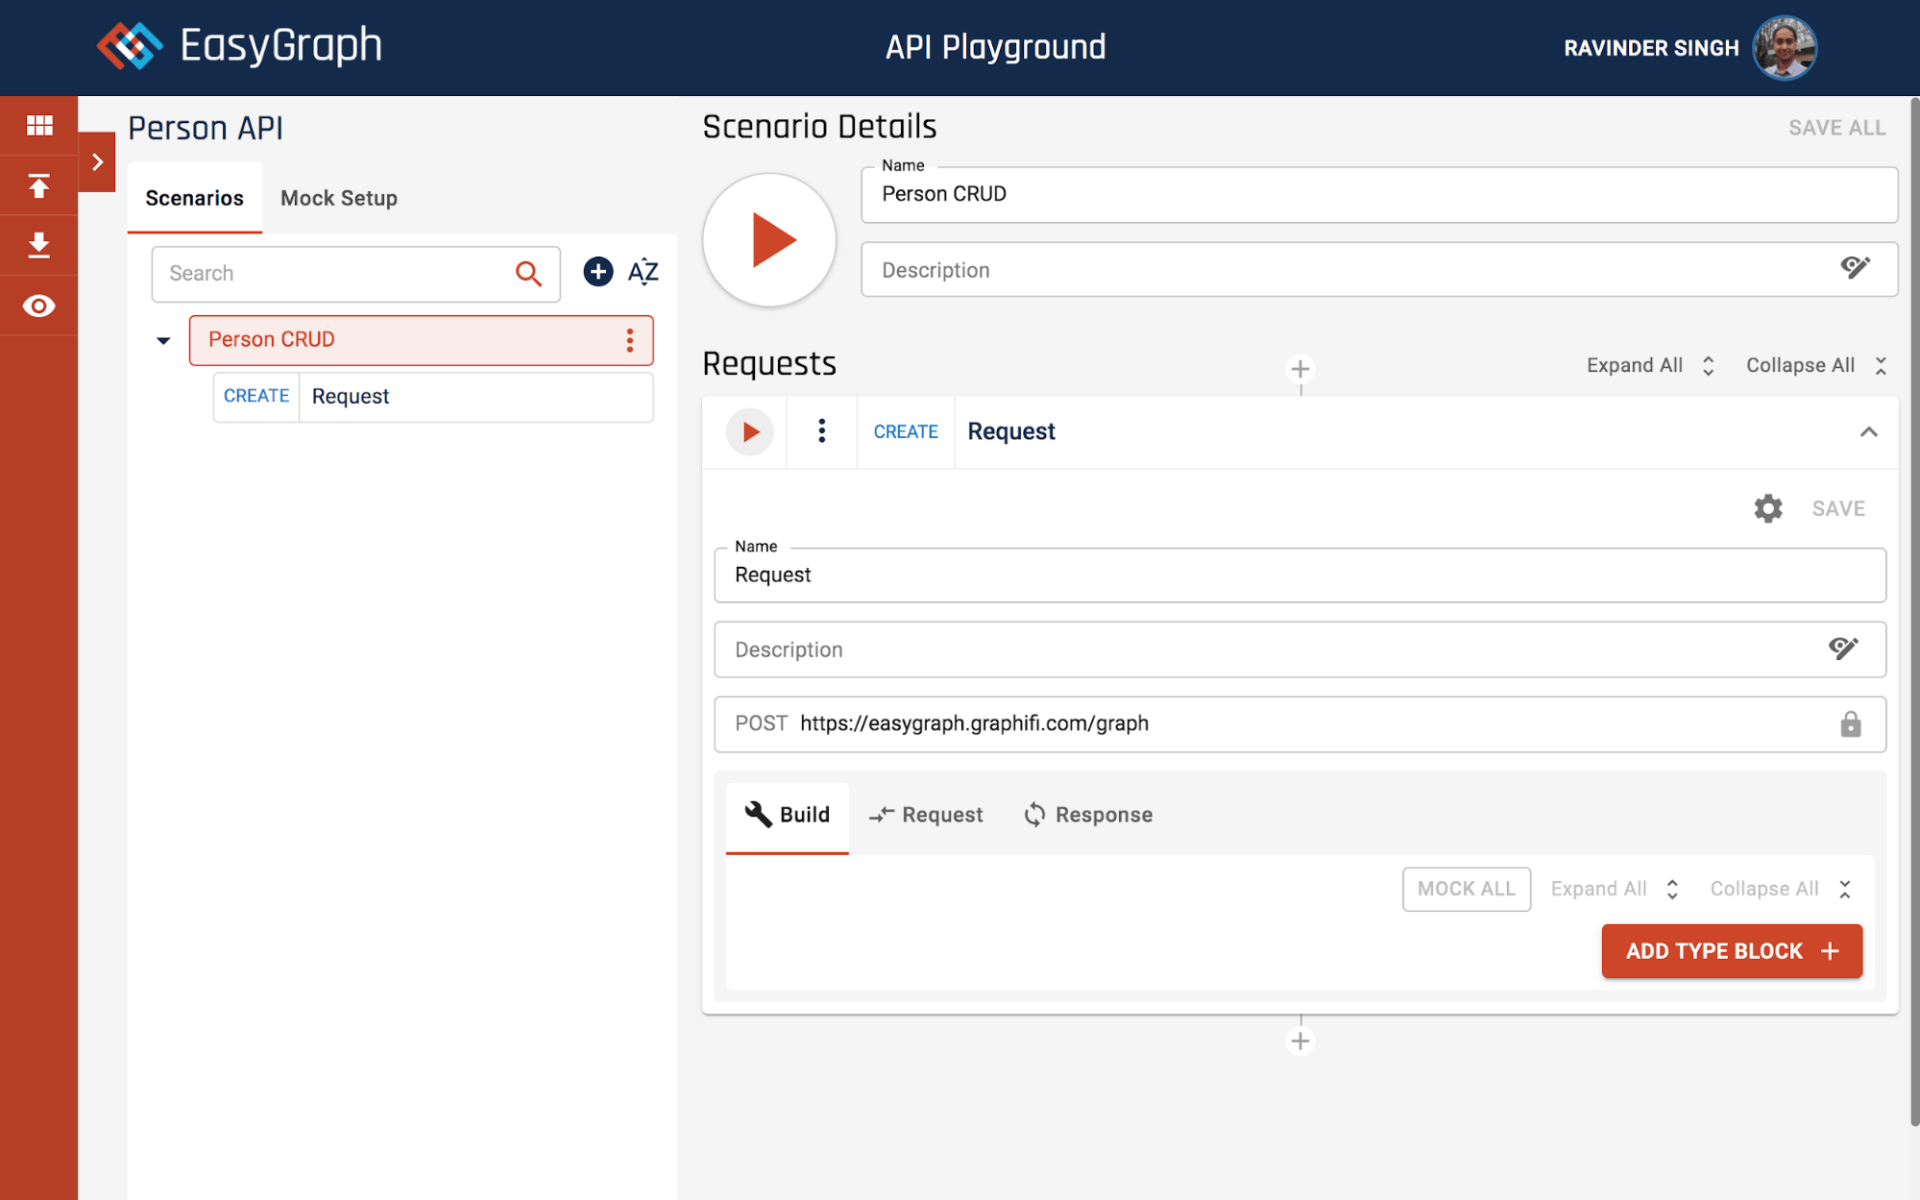
Click on ‘Add Create Request’ in the pop up menu. You should see a new Request added as shown below.
Click on the expand icon button to expand the request. Your screen should look as below.
In the Name field enter “Add a new person with givenName”. Click on the ‘ADD TYPE BLOCK’ button under the Build tab. This should add a block as shown in the shot below.
Click in the Type field and select ‘Person’.
You should now see a form as shown below.
Click the ADD button in the ‘givenName’ block. This should add a field to enter ‘givenName’. Enter ‘foo’ in the field and your screen should look as below.
Click the SAVE button at the top of the screen as shown in the screenshot below.
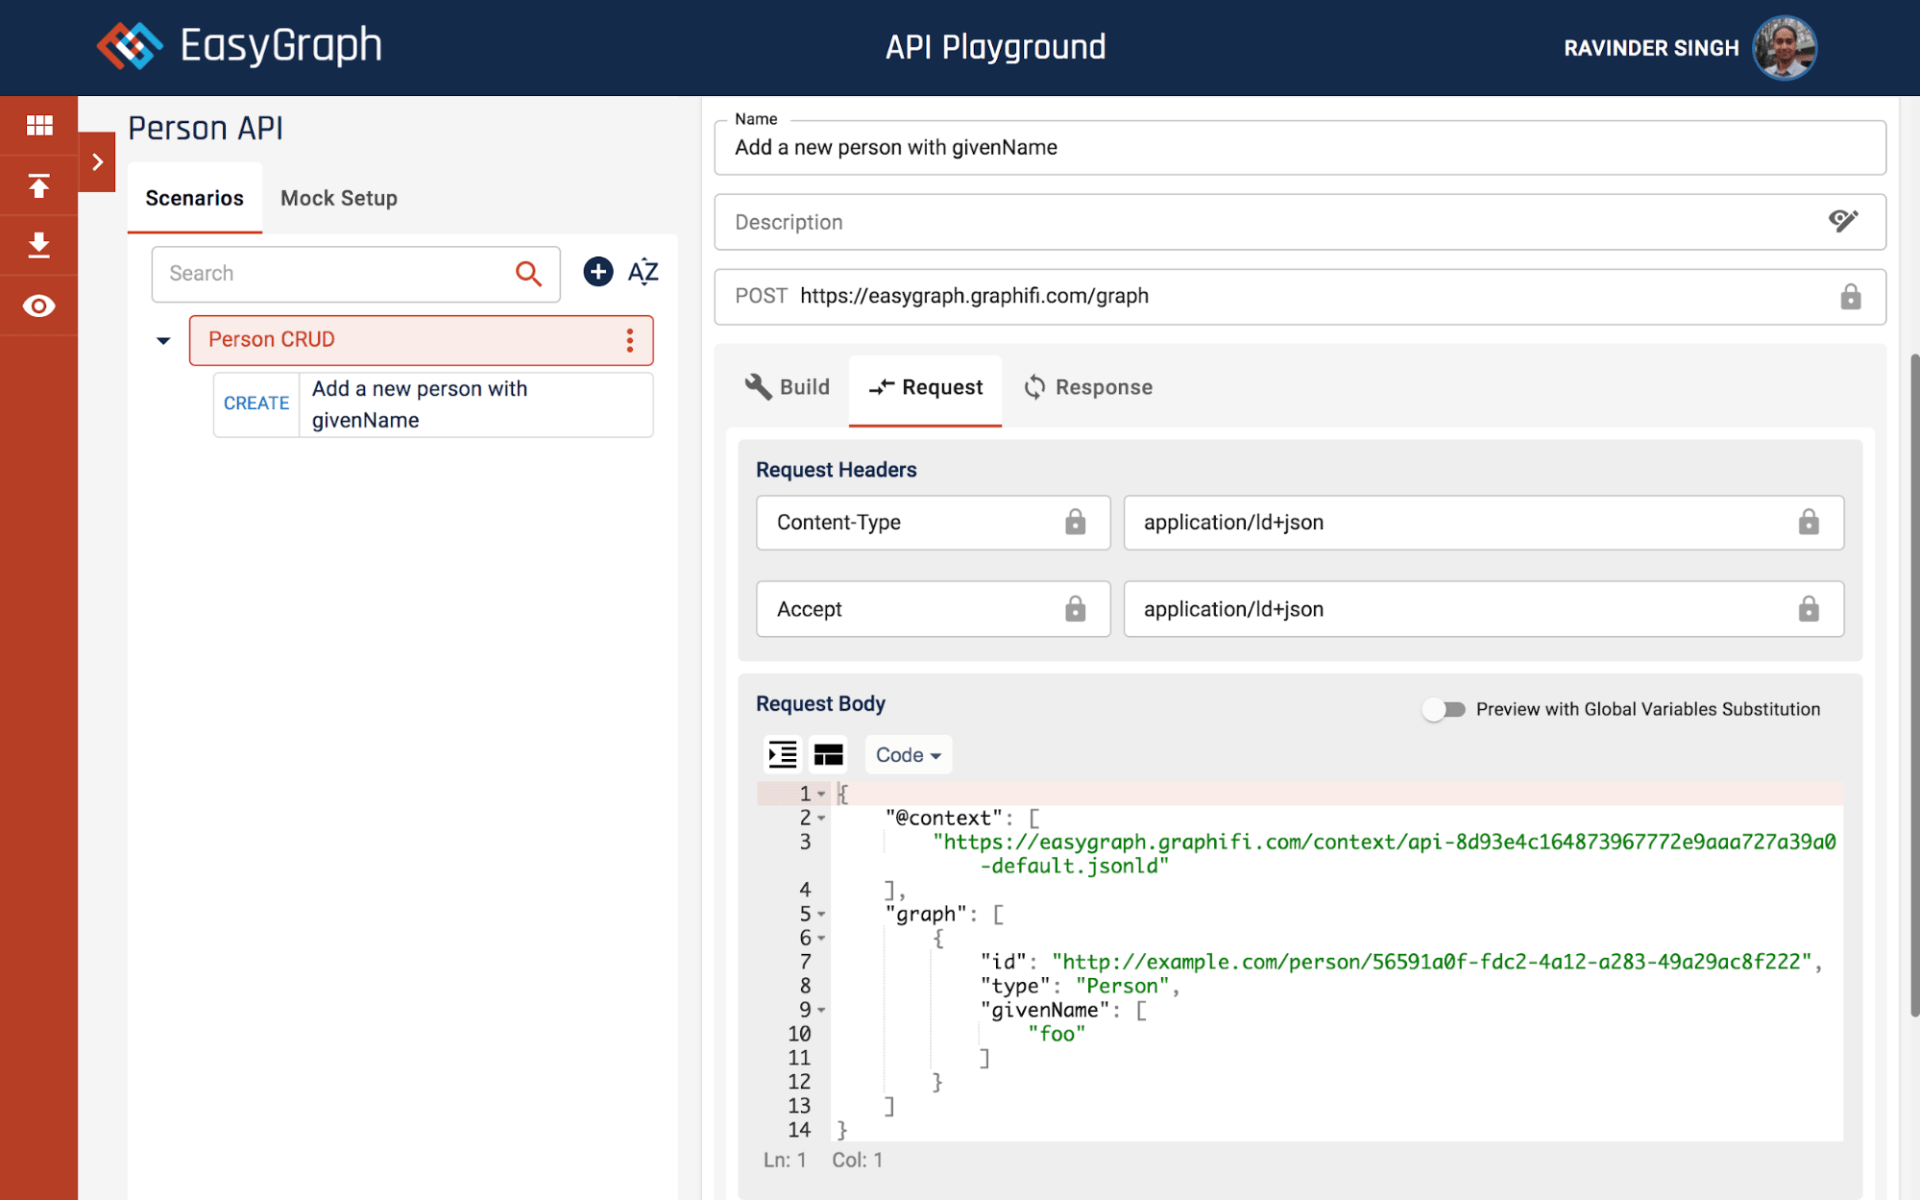
Next click on the ‘Request’ tab. Your screen should look as below.
In the above shot you can see all the details of the HTTP API request to create a ‘Person’ resource with ‘givenName’ value ‘foo’. In case you are wondering why ‘givenName’ is an array this is because there are no restrictions in the ontology. In following tutorials we will see how we can make these adjustments using the System Manager.
Click on the Play button at the top to execute the scenario. You should see a success message on the request title bar and tab should change to the ‘Response’ tab as shown below.
That is all you need to do to create a resource.
For next tutorial in this series please see https://www.graphifi.com/easygraph-quick-start-search


